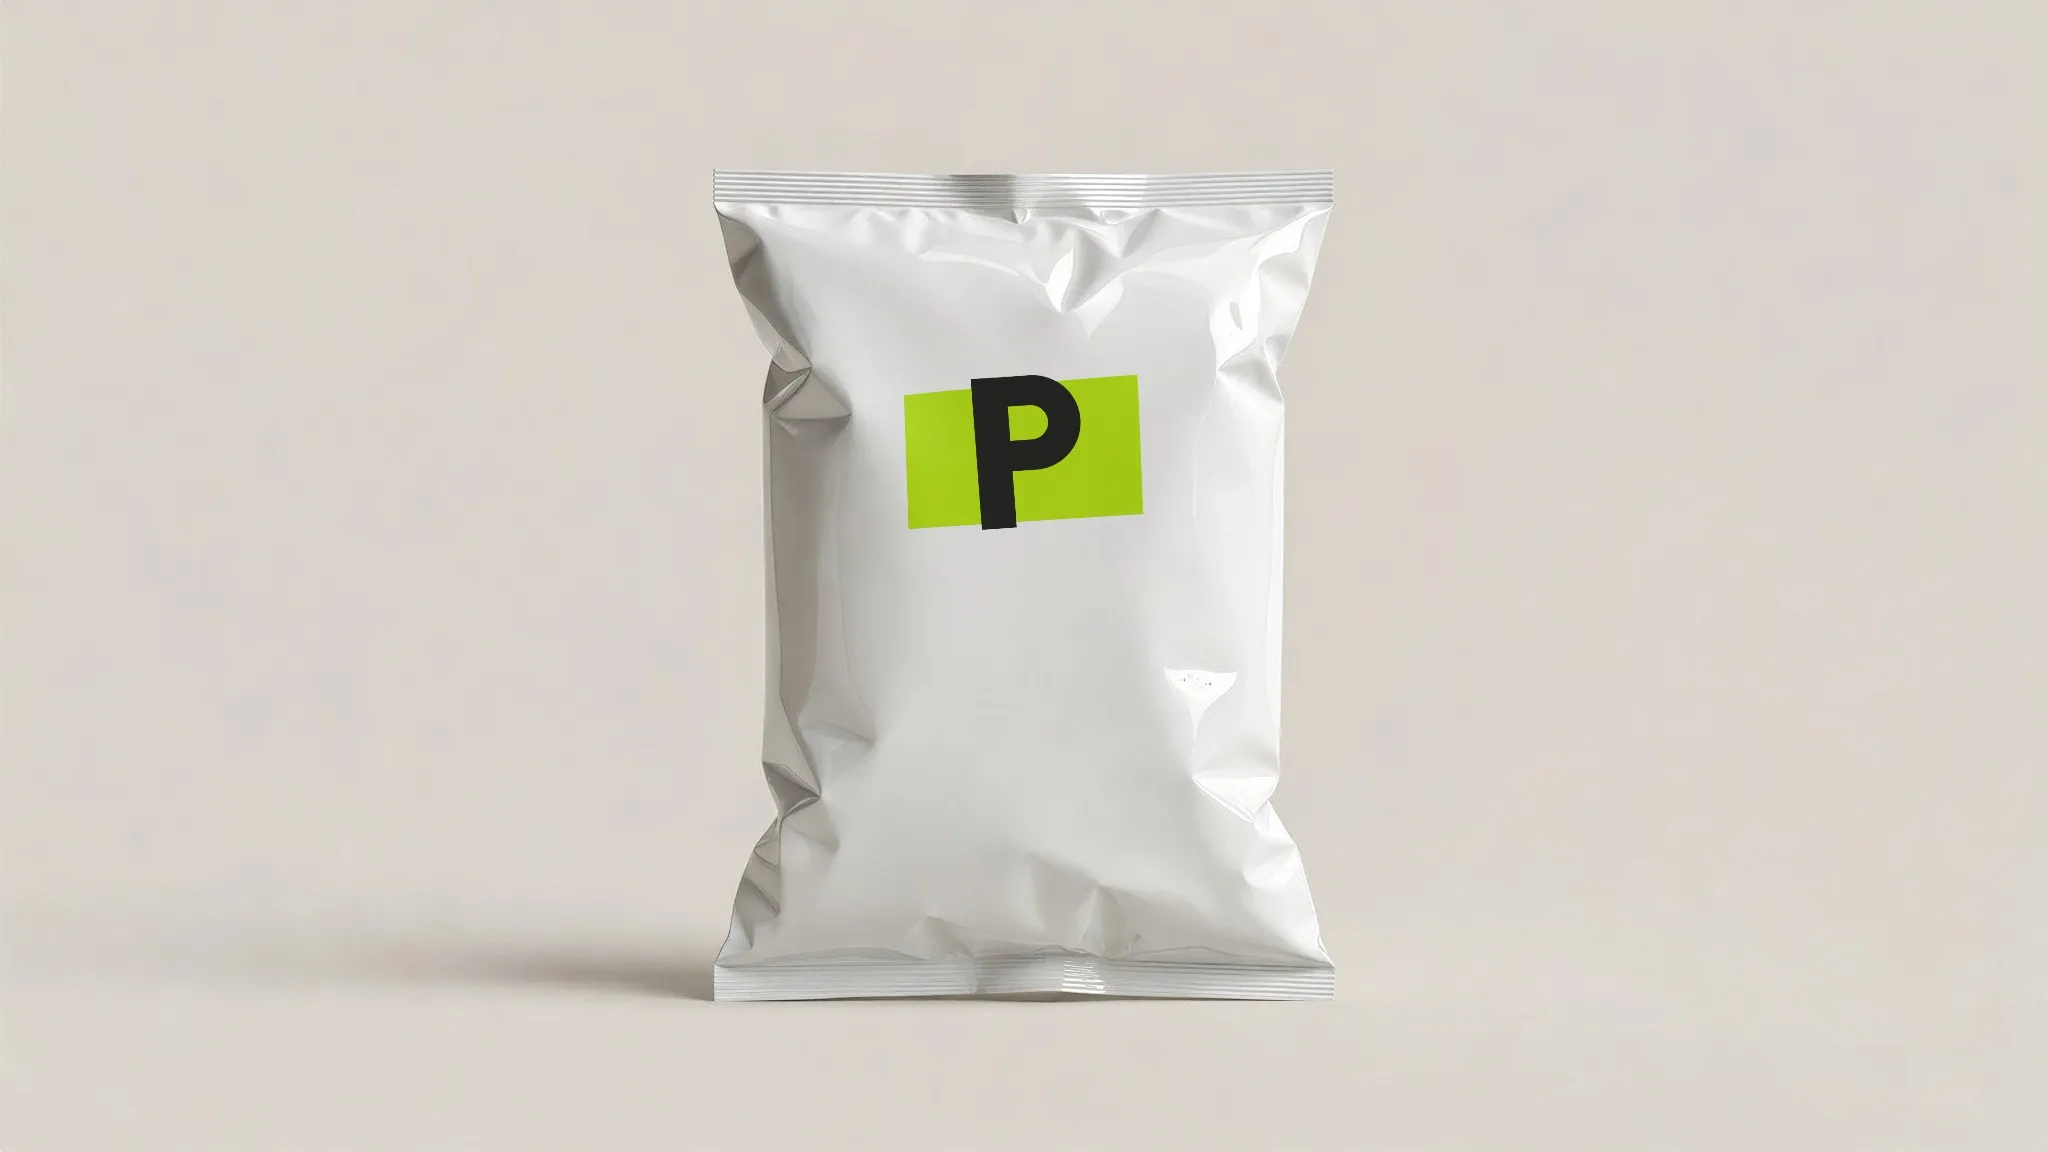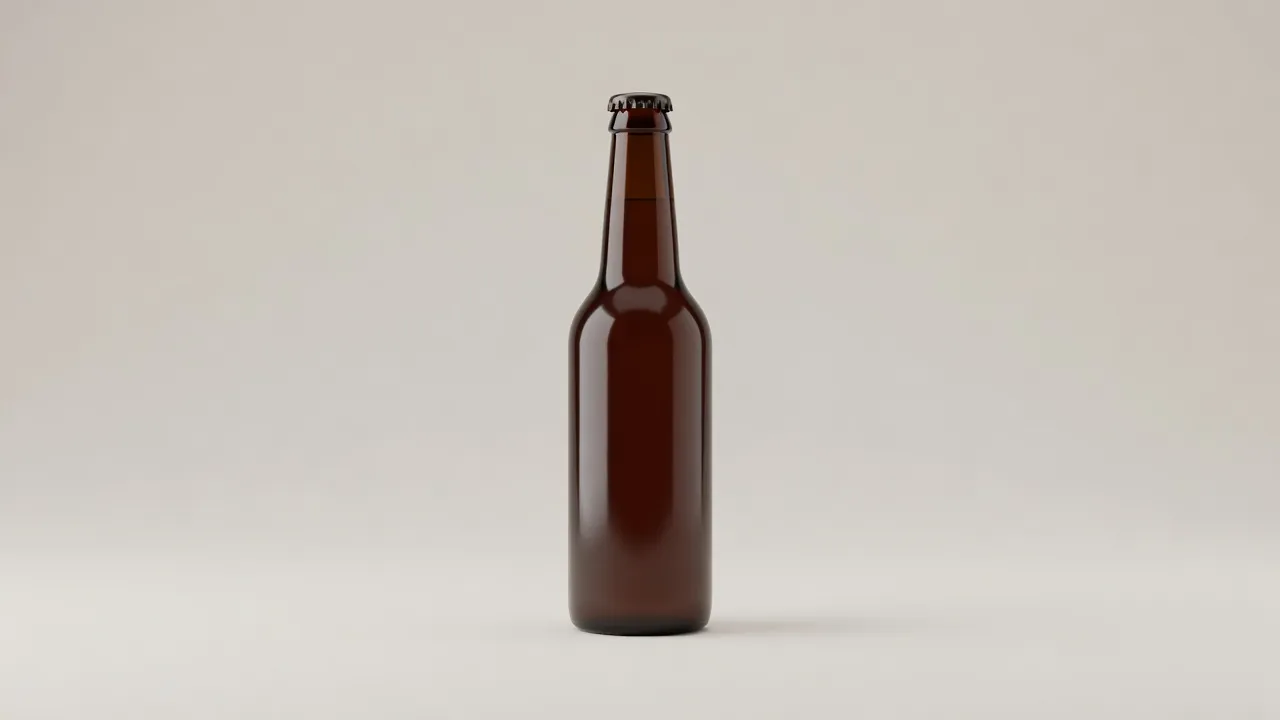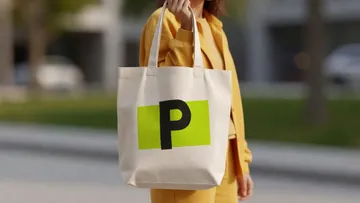
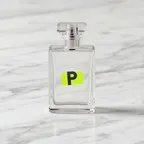
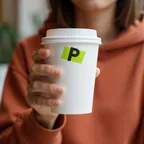
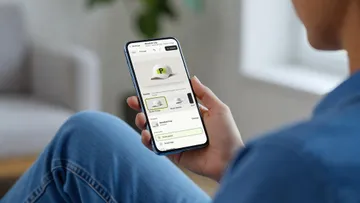
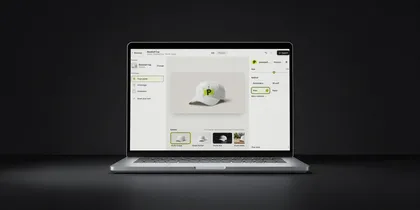
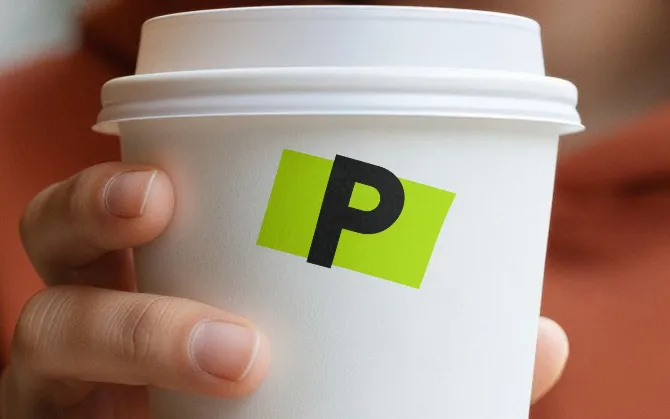
 Shown on a takeaway cup
Renders are PreviewFly downloads · blank scenes are AI-generated
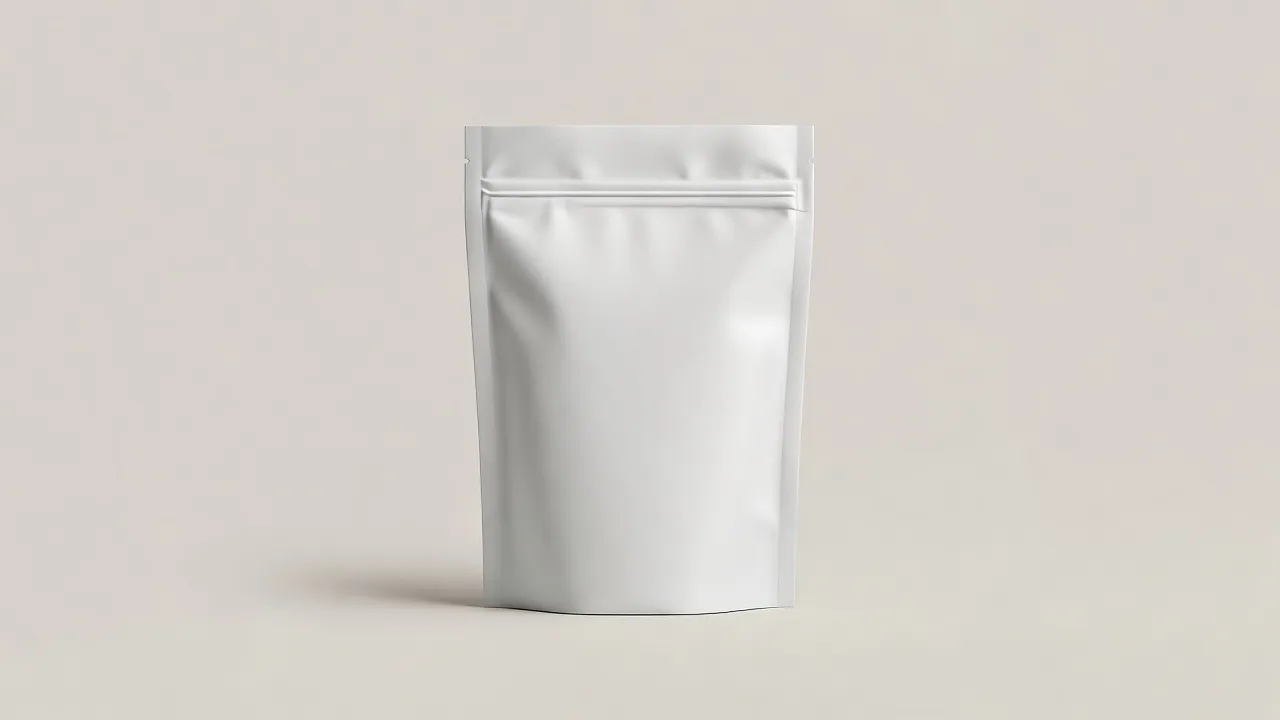
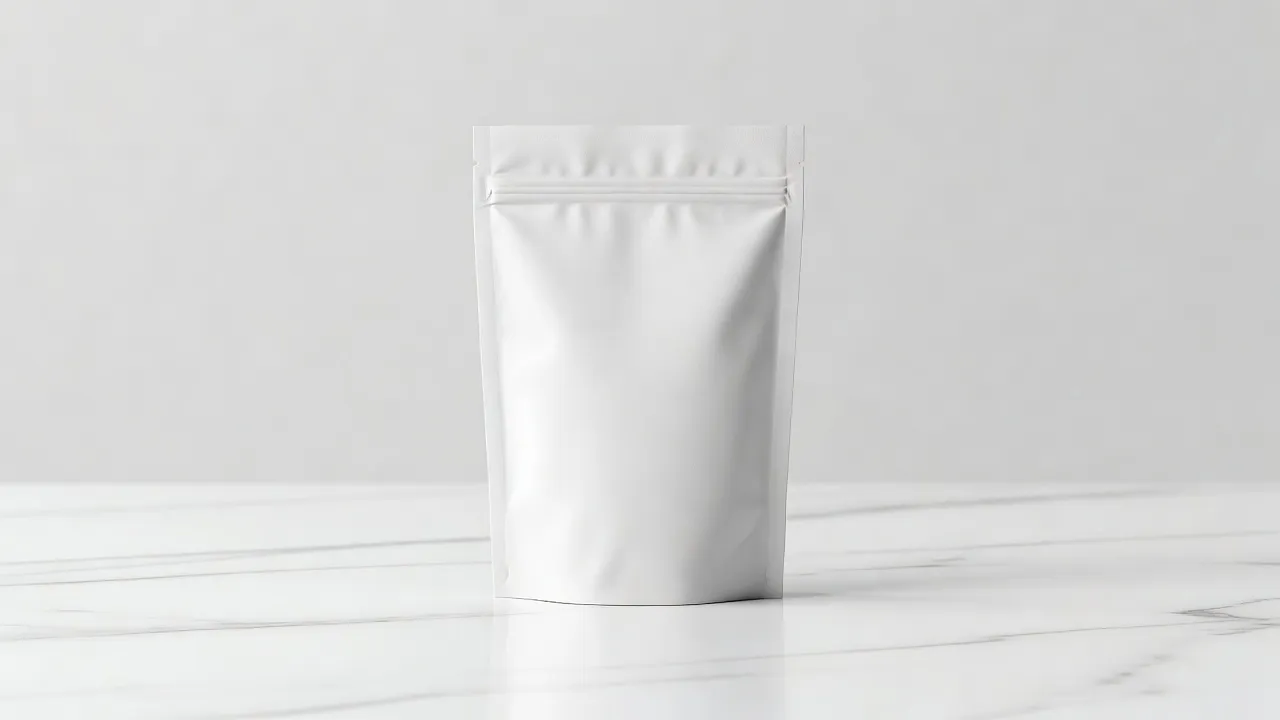
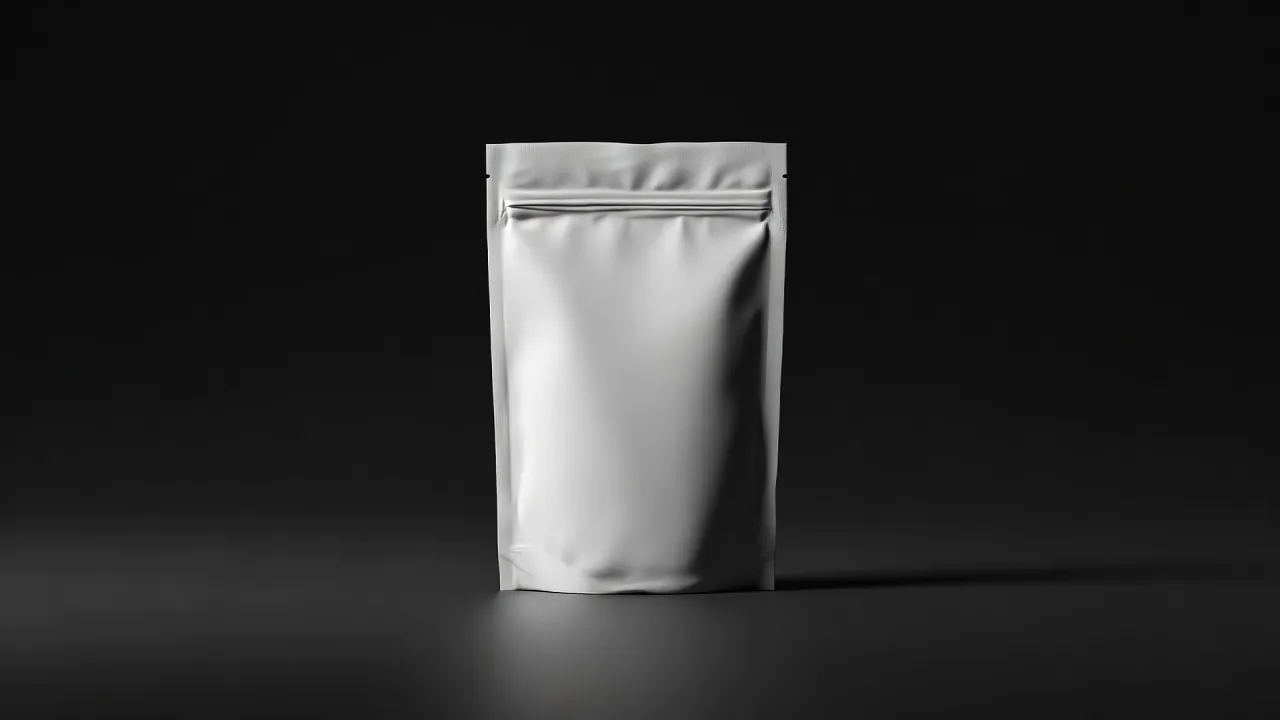
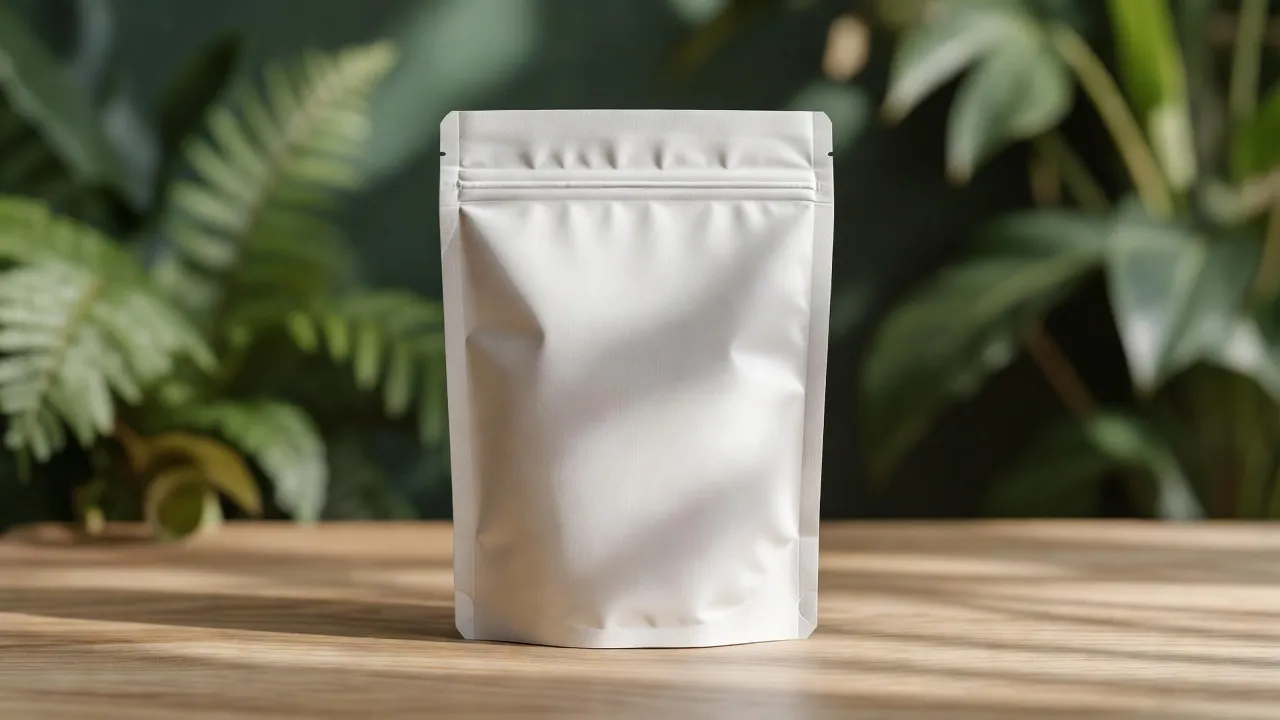
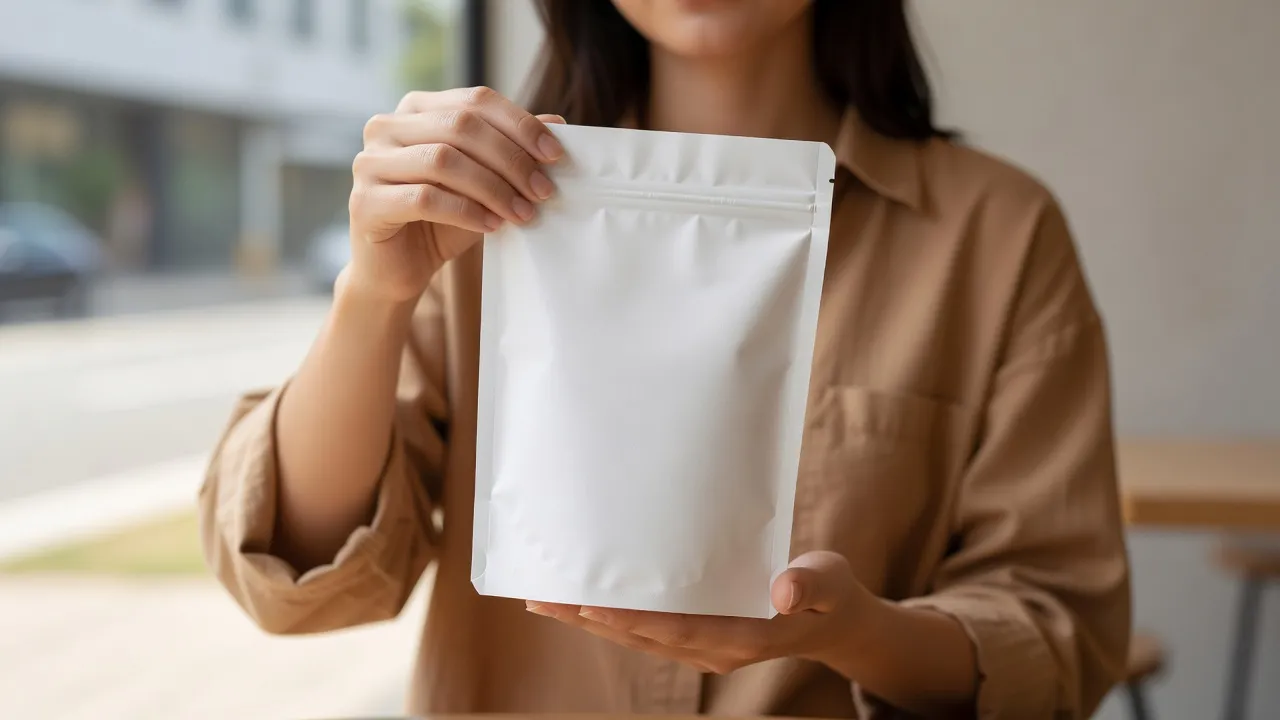
Your file, untouchedNothing is redrawn or generated.
The light of the photoShading and texture come from the scene.
Made the real wayOnly what this Stand-up pouch is really made with.
- Material
- Kraft board
- Looks
- 5 studios
- Techniques
- 6 on this Stand-up pouch
Stand-up Pouch in three steps.
1
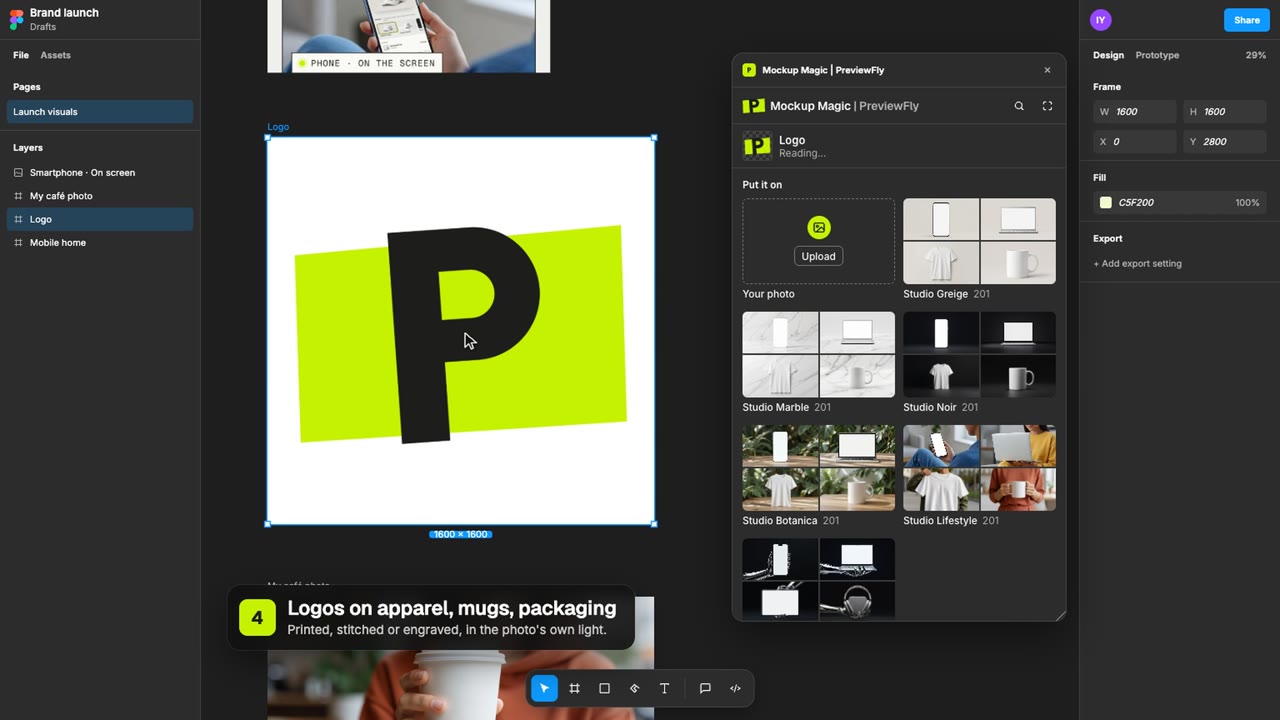
Upload your logoPNG, JPG or SVG. A transparent background works best.
2
Pick the look and techniqueOnly what this Stand-up pouch is really made with is offered.
3
DownloadYour mockup as an image, for a listing, a deck or a site.
5 looks, one Stand-up pouch.
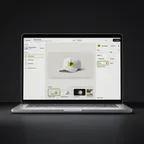
The same Stand-up pouch in 5 studio scenes. Switch looks in the editor and the print comes along.
How it's made on a Stand-up pouch.
The editor offers what kraft board is really made with, and each one looks the way it does in real life.
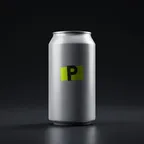
Shown on a takeaway cup 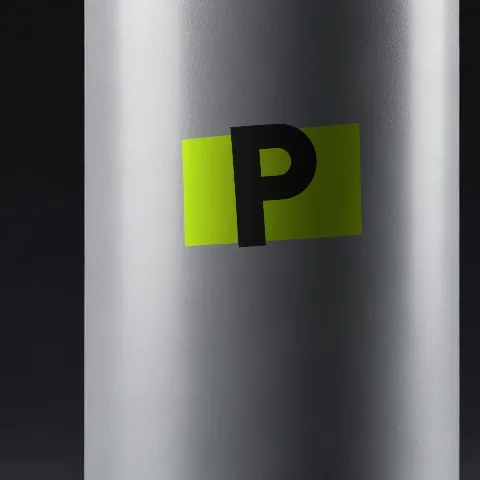 Shown on a soda can
02
Print (screen / UV)
Opaque ink: matte in the weave on fabric, glossy on hard goods.
About print (screen / UV) →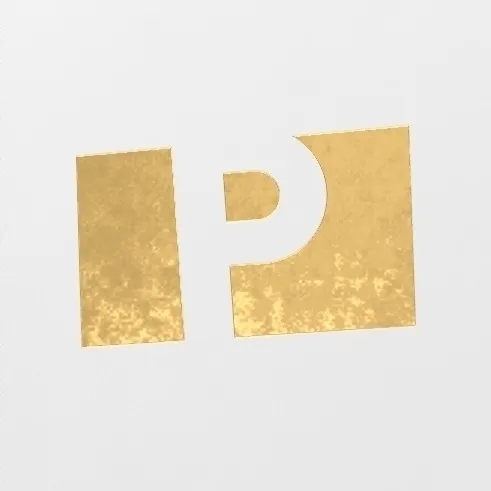 Shown on a spiral notebook
 Shown on a spiral notebook
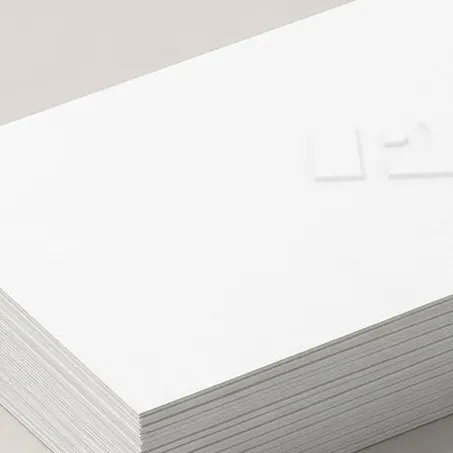 Shown on a business cards
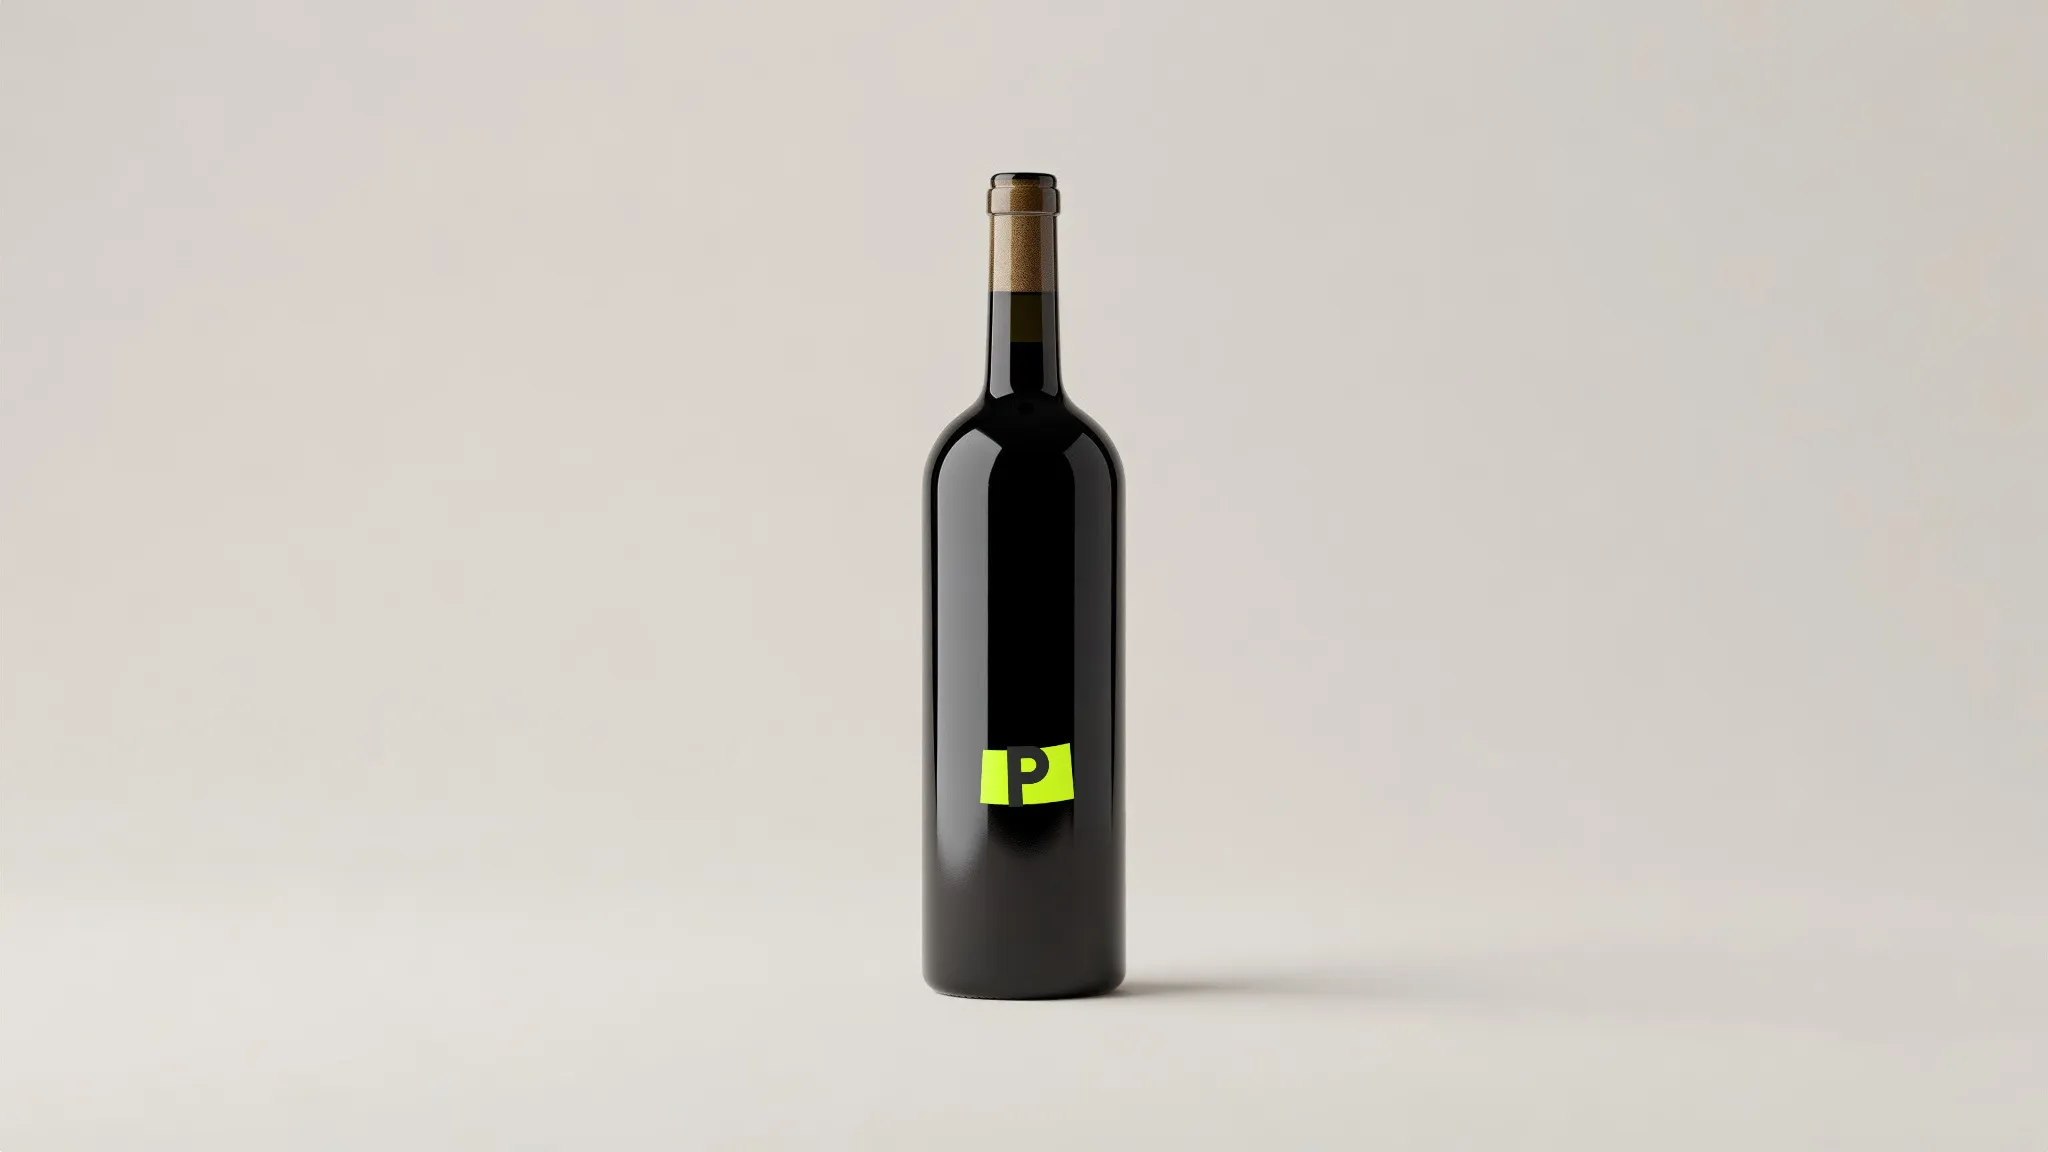 Shown on a wine bottle
06
Stickers & labels
A thin film with a slight edge and a sheen of its own.
About stickers & labels → Not offered here
Embroidery, 3D puff embroidery, Embroidered patches, Water-based discharge, Sublimation, Ceramic decals, Spot UV, Glass etching: kraft board is not made that way, so the editor does not offer them on this Stand-up pouch.
Not in the library?
Have your own Stand-up pouch? Use that photo.
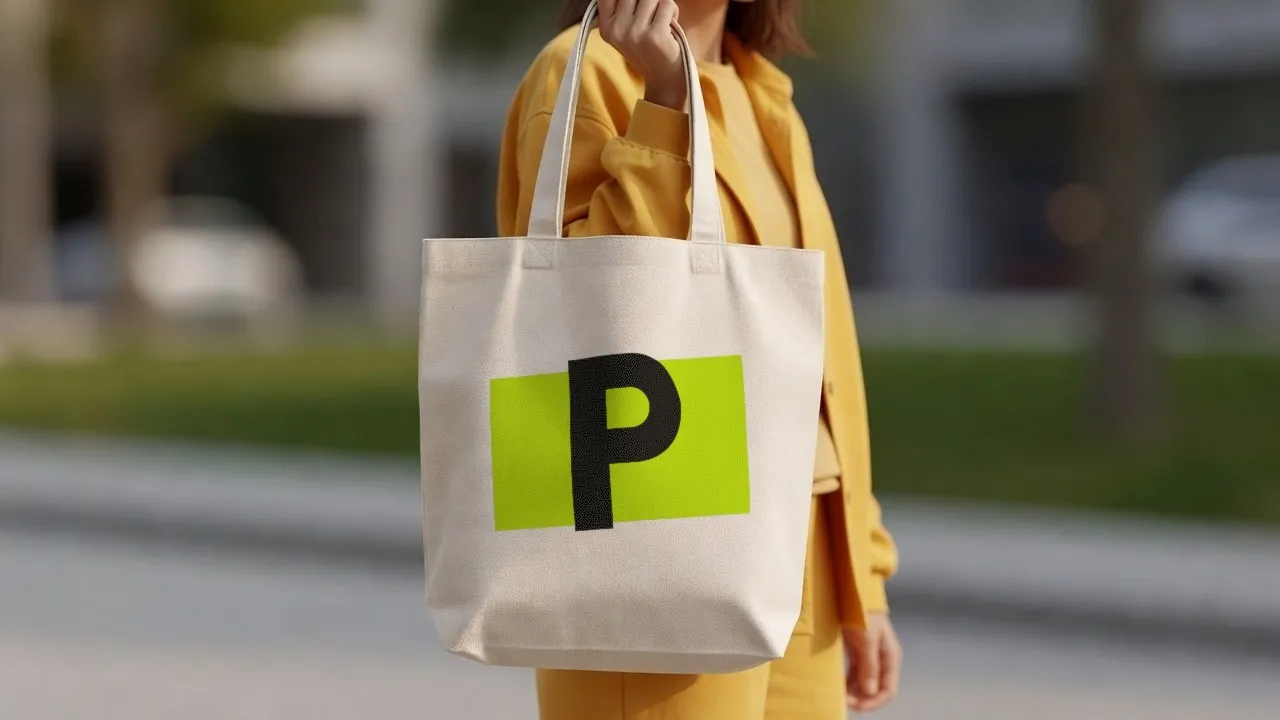
Take a photo of your own Stand-up pouch, against any background you like: your desk, your shelf, your shop window. PreviewFly finds it and puts your logo on it, the same way as everything here.
Use a photo of your own Stand-up pouch
Stand-up Pouch mockups, asked often
Something else? We are in beta and read every message.
Which techniques can I use on a Stand-up pouch?
Flexo, Print (screen / UV), Hot foil stamping, Debossing, Embossing, Stickers & labels. Under other methods: Laser engraving. These are the ways kraft board is really decorated.
Is the Stand-up pouch photo real?
The scenes are AI-generated photos of a blank Stand-up pouch, labelled as such. Your logo on it is placed from your file, never generated.
Can I use a photo of my own Stand-up pouch?
Yes: JPG, PNG, WebP or HEIC. PreviewFly finds the product in your photo and follows its shape and light the same way.
Will my logo be the right size?
The Stand-up pouch is drawn at its real size, so your logo sits on it in true proportion. Drag a corner to make it bigger or smaller, or press Fit for the largest size the print area takes.